

DIY pool liner patching is probably something every pool owner has overlooked. However, if you’re reading this, it’s likely that you’ve found a hole or tear in your pool liner and aren’t sure what to do. Should you call a professional? How much will it cost? Are you capable of fixing it yourself?
Luckily, patching your pool liner isn’t as challenging as it may sound. Keep reading to learn everything you need to know about DIY pool liner fixes—and when to call in the big guns.
Main Takeaways
- You need to learn how to patch your pool liner as a wrinkle can turn into a tear, which can cost a lot of money to repair.
- Some quick fix options to patch your pool liner include: waterproof tape, peel-and-stick patches, and patch kits.
- When patching your liner, never drain the water, get your tools beforehand, use goggles, use the buddy system, and be quick!
Why You Need to Know How to Patch Your Pool Liner
If you’re a pool owner, it’s non-negotiable that you know how to patch your vinyl pool liner. Not only should you know how to patch the liner effectively, but it needs to be done quickly.
A wrinkle in your pool liner can quickly turn into a tear – and a tear in your pool liner can cause a lot of damage, especially when left unchecked. Damage equates to costly repairs. Additionally, patching your own pool liner will save you the headache of balancing out your pool’s chemicals each time you have to replace the fresh water that has leaked out.
There are two types of vinyl pools: above ground and inground. Each comes with its own set of dangers in terms of leaks.
Above Ground Pool Leaks
If the liner of your above ground pool tears and begins to leak, water will typically leech out until it’s level with the tear.
If the tear is closer to the pool’s top edges, you’ll only lose a few inches of water. However, if the tear is closer to the bottom of the pool, you’re looking at near-total water loss.
Losing your above ground pool water may not seem like an urgent issue, but it could cause your pool to collapse in on itself. Not to mention, all the chemicals that will end up all over your lawn. Odds are, the water will kill your grass and turn your yard into a mud pit. If this has already happened to you, head to my guide on the best above ground pool brand for some durable options.
Inground Pool Leaks
A leak in your inground pool liner has the potential to cause even more damage. If there’s a tear by the liner’s top edge, it can create a water pocket, trapping both air and water. That pocket also adds weight, which will cause your liner to rip further.
Tears and holes in your inground pool liner can also lead to water pockets beneath your pool deck. This can cause soil erosion, cracks in your concrete, and rust, causing the surrounding area to become vulnerable.
Quick Fix Options for Patching Your Pool Liner
There are a handful of options for patching your pool liner. If you’re especially in a bind and need more time to figure out what to do, you can always use duct tape.
All you have to do is grab your roll of duct tape, cut a piece larger than the tear, and apply it right onto the liner. This can be done above or underwater, and it should provide a strong hold for a little while until you figure out what to do.
Here are your other options.
Waterproof Tape
Waterproof tape is similar to duct tape, only it’s clear and UV resistant, so it’ll last much longer. It’s easy to apply in or out of the water, it’s removable, and it’s cheap.
You can overlap your waterproof tape to cover larger surface areas. However, using this product for smaller areas is best since it tends to peel at the edges over time. This is especially true for vinyl pool liners.
Here’s my recommended waterproof tape from Gorilla.
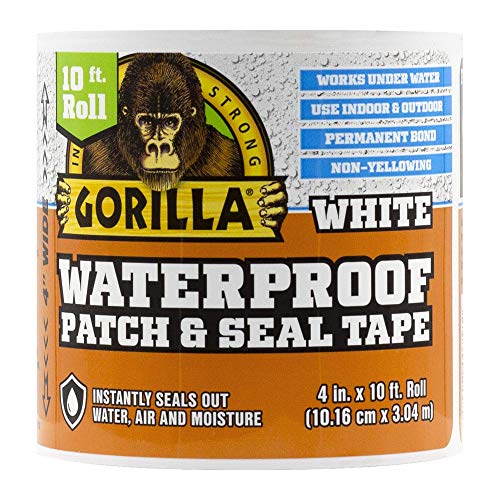
Gorilla is my favorite underwater tape. It can adhere to pretty much anything.
Peel-and-Stick Patches
Peel-and-stick patches work just like waterproof tapes. The primary difference is that they’re made from a vinyl material to match your pool liner. They also work on inflatable pool toys and floats.
You can find peel-and-stick patches in sheets or pre-cut into circles. We recommend the pre-cut circles since they’re less likely to peel up at the edges.
All you have to do is peel off the paper backing and place your patch over the leak. Peel-and-stick patches work best for small leaks and punctures.
Boxer Adhesives is my favorite brand for these pool patches.
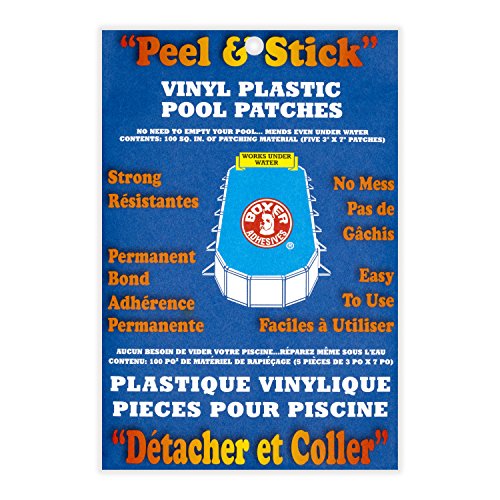
This brand is my favorite because it's inexpensive and great for small repairs.
Patch Kits
Pool liner patch kits are typically used to seal up larger tears and holes in your pool liner. They also provide a more long-term solution than waterproof tapes and peel-and-stick patches.
Patch kits usually have larger vinyl sheets and a special adhesive that seals the vinyl underwater. Patch kit colors can be found in blue or clear to match your liner.
Patch kits for above ground pools will include sheets of laminated polyvinyl chloride (PVC), the material necessary for patching the anterior pool walls.
Boxer Adhesives also makes a great pool liner repair kit for larger tears.

The Steps to Patching a Pool Liner
The first thing you want to do when patching a pool liner is to make sure there’s an actual leak. It’s common for most pools to lose between ¼ to ½ of an inch of water each day, especially during the hot summer months, when evaporation levels are higher.
The general rule of thumb is that if you’re losing approximately an inch or more of water per day, then you have a leak.
You can use a couple of methods to find out for sure if you have a leak. The first method is commonly known as the “bucket method,” and the second is the ink method.
The bucket method involves placing a five-gallon bucket with water by your pool. Mark the waterline of the bucker and the waterline of your pool. Turn your pool’s pump off and wait for up to 24 hours.
After 24 hours, mark the new water line on both your bucket and in your pool, then measure the distance between each one. If your pool’s water level is lower than the equivalent water level in your bucket, you have a leak.
The ink method involves using a leak-finding kit or some dark food coloring. You’ll also need a pretty good idea of where the leak is.
Grab some goggles, jump in, and head towards the leak. Squirt a little ink or food coloring near the leak and watch for movement. If you notice a steady, colored stream flowing in a particular direction (i.e., towards the leak), you have a leak.
For more on leaks, read my full article on how to find pool leaks.
Here’s how to patch up those leaks.
Locate the Leak or Leaks
If you don’t already know where the leak is, you need to find it. Using the ink method mentioned above should help you locate it after a while.
Once you’ve found your leak (or leaks), you’ll need to size up the area to determine the type of patch you’ll need.
Choose the Right Patch
The type of patch you need will depend on the area of the leak and the size. If it’s a small leak, some waterproof tape or a peel-and-stick patch will do the trick. You’ll need a good patch kit if it’s a larger tear.
Clean the Area
Once you’ve determined the patching to use for your pool liner, you’ll need to prep the area so the patch will stick to the liner. You can use a rag, a pool brush, or a gentle scrubber pad to remove any dirt and debris from the area.
Get Your Patch Ready
Whichever type of patching you choose to use, be sure to get it ready. That means cutting it down to the correct size or overlapping your waterproof tape to create a patch that will efficiently cover the area.
You want to ensure your patch is at least a few inches larger than the hole or tear causing the leak.
Apply the Adhesive
Whether it’s included in your patch kit or you want to take the extra step to purchase some vinyl adhesive, it’s time to apply it. Be sure to apply the adhesive to the back of your patch—not the liner.
Apply the Patch
Now you can go ahead and place the patch directly over the hole or tear. Be sure to smooth out any seams and press out any bubbles gently with your fingertips.
Hold the Patch Firmly in Place
If possible, it’s recommended to find something you can use to apply pressure to the patch for up to 24 hours. Holding the patch firmly in place for a day or two will allow the adhesive to cure correctly, ensuring that your patchwork lasts a long time.
Double Patch (Optional)
“Double patching” is optional. Once your first patch has cured for up to 24 hours, you can cut another patch to place on top for added security. Of course, you’ll have to be sure that your second patch is at least two inches larger in diameter than the first.
Here’s a YouTube video showing the exact steps I outlined above.
Tips for Pool Liner Repair
Whether you’re patching an above ground pool or an inground pool, there are a handful of tips and tricks to make the process easier.
Never Drain the Water
First and foremost, it’s important to mention that you should never drain the water from your pool before patching the liner.
As I mentioned earlier, an above ground pool without water is at risk of completely collapsing. This will not only make the pool harder to deal with as you attempt to patch its liner, but it can also cause further tears and damage, especially with exposure to UV light.
The same goes for an inground pool. Draining the water can cause structural damage and further weaken the liner. Draining your pool can lead to having to replace it entirely or having to shell out the cash for an entirely new liner.
Gather Your Tools Beforehand
Make sure you have everything you need and that your patching materials are prepped and ready to go. Keep them as close as possible to your work area. Having to jump in and out of the pool to grab tools and materials will only make the job harder.
Use Goggles
You need goggles for an underwater patch job. You may also want to consider using a snorkel if you have a lot of work to do. Trust us; it’s a time-saver.
Use the Buddy System
Especially for larger patchwork jobs, having an extra hand or two can help move the process along much quicker.
Be Quick About it
The faster you adhere the patch to the liner, the stronger it will hold. Vinyl patches may be waterproof, but you don’t want them exposed to water—or anything else in the water—for longer than necessary.
To prevent long exposure to the elements, you can fold your patch with the adhesive on the inside and unfold it as soon as you’re ready to stick it on the liner.
When It’s Time to Call in a Professional
Eventually, your patchwork will come apart, no matter how perfectly done. Additionally, you can only patch up the same holes so many times before they become bigger and bigger.
It’s not your fault; that’s just the pool ownership life.
Of course, you can’t mend all pool liner rips and holes with DIY patching. Especially if you have larger holes and tears in your liner, you’ll want to start looking for a new one right away. For more on total liner replacements, read my article on how to replace your vinyl pool liner.
So, if you notice that your pool liner is ripping at the seams, is super old and faded, is bubbling up, or worse, your best bet is to skip the waterproof tape and call a professional immediately.
Get My Free Pool Care Checklist
Download my free, printable pool maintenance checklist to help you accomplish regular pool care tasks for any type of swimming pool.
That’s it! Have questions? Let me know, and I’ll be happy to help in any way I can.